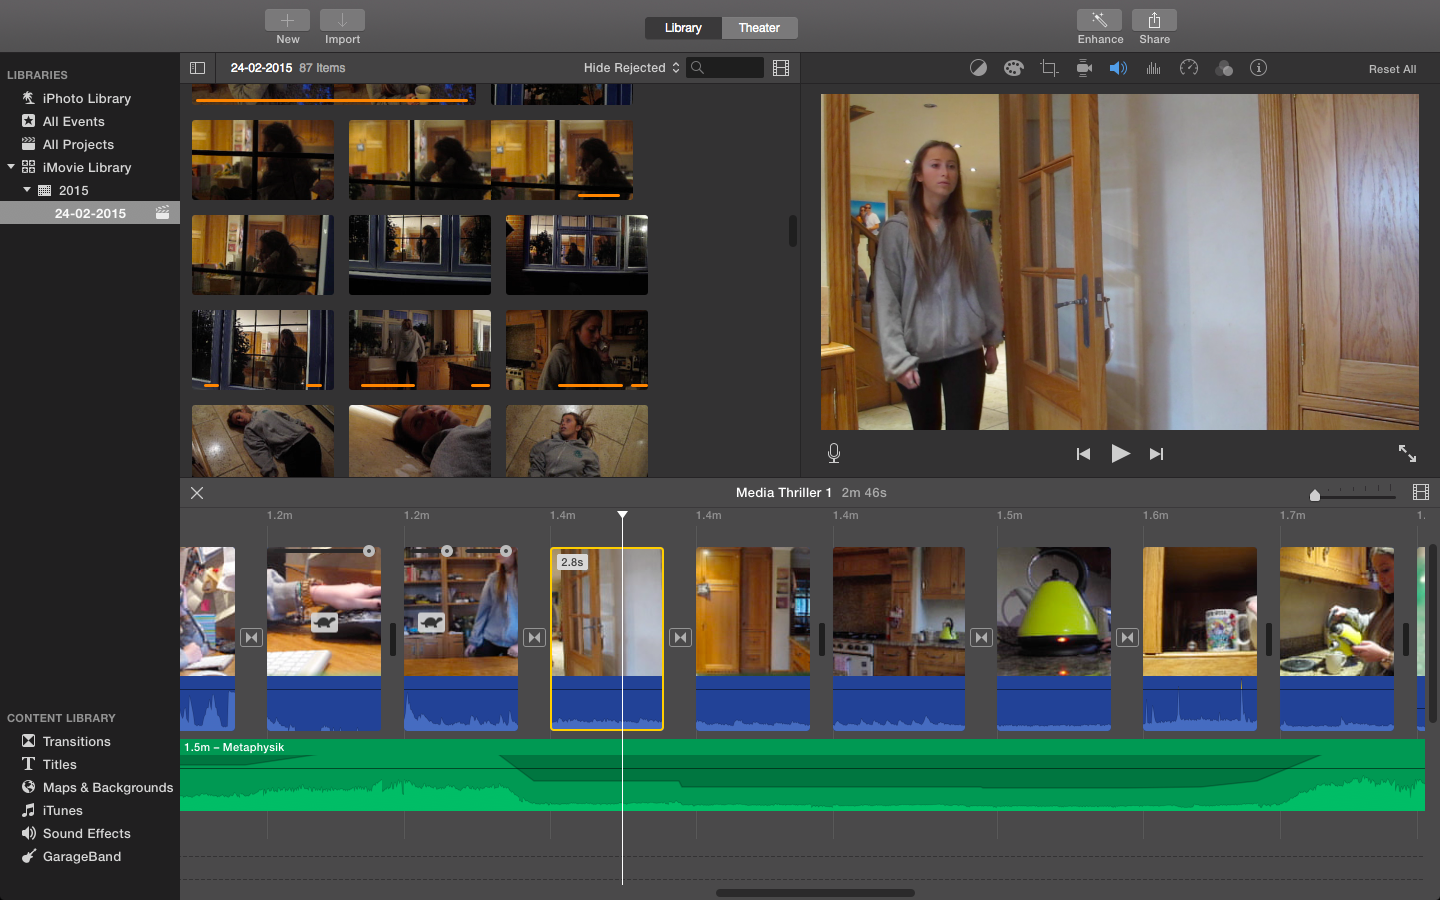
 We began editing by putting shots on a timeline and
trying to make sense of the footage we had filmed in order to create a
narrative. This meant looking through our shots and deciding what we wanted to
keep and what we wanted to discard. In the beginning we had an estimated 50
clips which were all multiple shots including wide, medium, close ups, high
angle, low angle, over the shoulder and panning shots. All these different
shots in someway helped us to create tension and suspense. As a group we
watched all the clips more than once and removed irrelevant footage or footage
that we knew would not make our thriller effective once we had done this we
dragged the remaining clips that we were officially going to use into the
iMovie software timeline to start creating the film. Charlie was the main
editor, as he had most knowledge and understanding of how to use the software,
however Talia and I provided information and suggestions in order to help him
make our thriller what we wanted.
We began editing by putting shots on a timeline and
trying to make sense of the footage we had filmed in order to create a
narrative. This meant looking through our shots and deciding what we wanted to
keep and what we wanted to discard. In the beginning we had an estimated 50
clips which were all multiple shots including wide, medium, close ups, high
angle, low angle, over the shoulder and panning shots. All these different
shots in someway helped us to create tension and suspense. As a group we
watched all the clips more than once and removed irrelevant footage or footage
that we knew would not make our thriller effective once we had done this we
dragged the remaining clips that we were officially going to use into the
iMovie software timeline to start creating the film. Charlie was the main
editor, as he had most knowledge and understanding of how to use the software,
however Talia and I provided information and suggestions in order to help him
make our thriller what we wanted.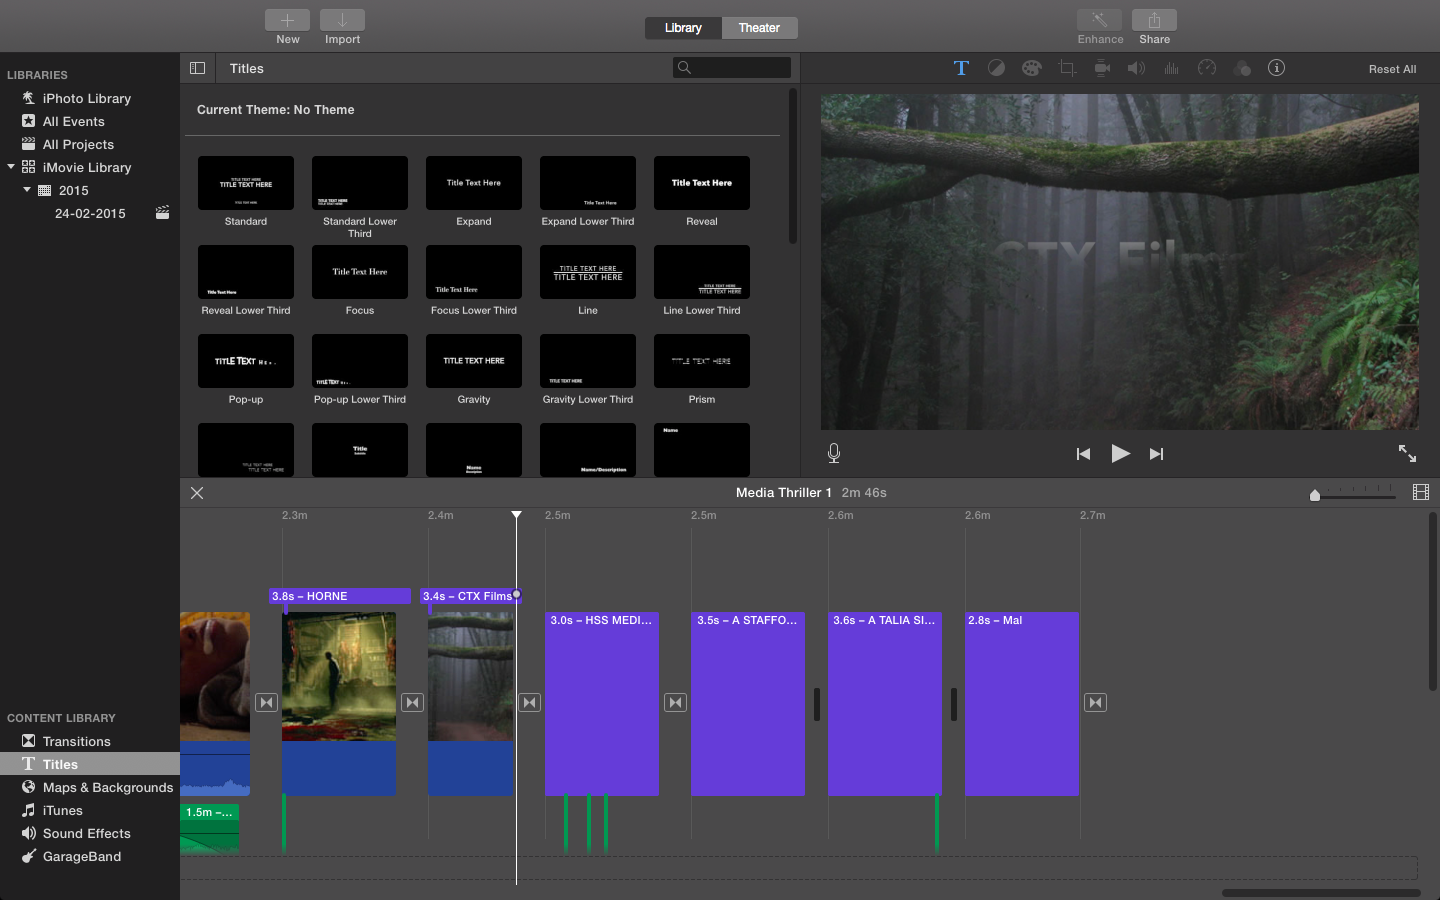 While we were editing, we focused primarily on how we
would create a narrative. A narrative is the story behind something. We constructed
the narrative by including only clips that guaranteed suspense. These clips
included high angle shots as this shows power and domination over someone
combined with low angle shots of our character to show weakness and
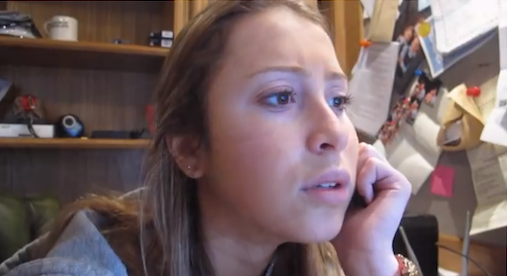
vulnerability. We also incorporated close up and medium shots to highlight her
change in emotion beginning mellow and calm to frightened and rigid. Charlie
dragged these clips into the timeline and began editing them together into a
continuous flow and then added effects.
While we were editing, we focused primarily on how we
would create a narrative. A narrative is the story behind something. We constructed
the narrative by including only clips that guaranteed suspense. These clips
included high angle shots as this shows power and domination over someone
combined with low angle shots of our character to show weakness and
vulnerability. We also incorporated close up and medium shots to highlight her
change in emotion beginning mellow and calm to frightened and rigid. Charlie
dragged these clips into the timeline and began editing them together into a
continuous flow and then added effects.
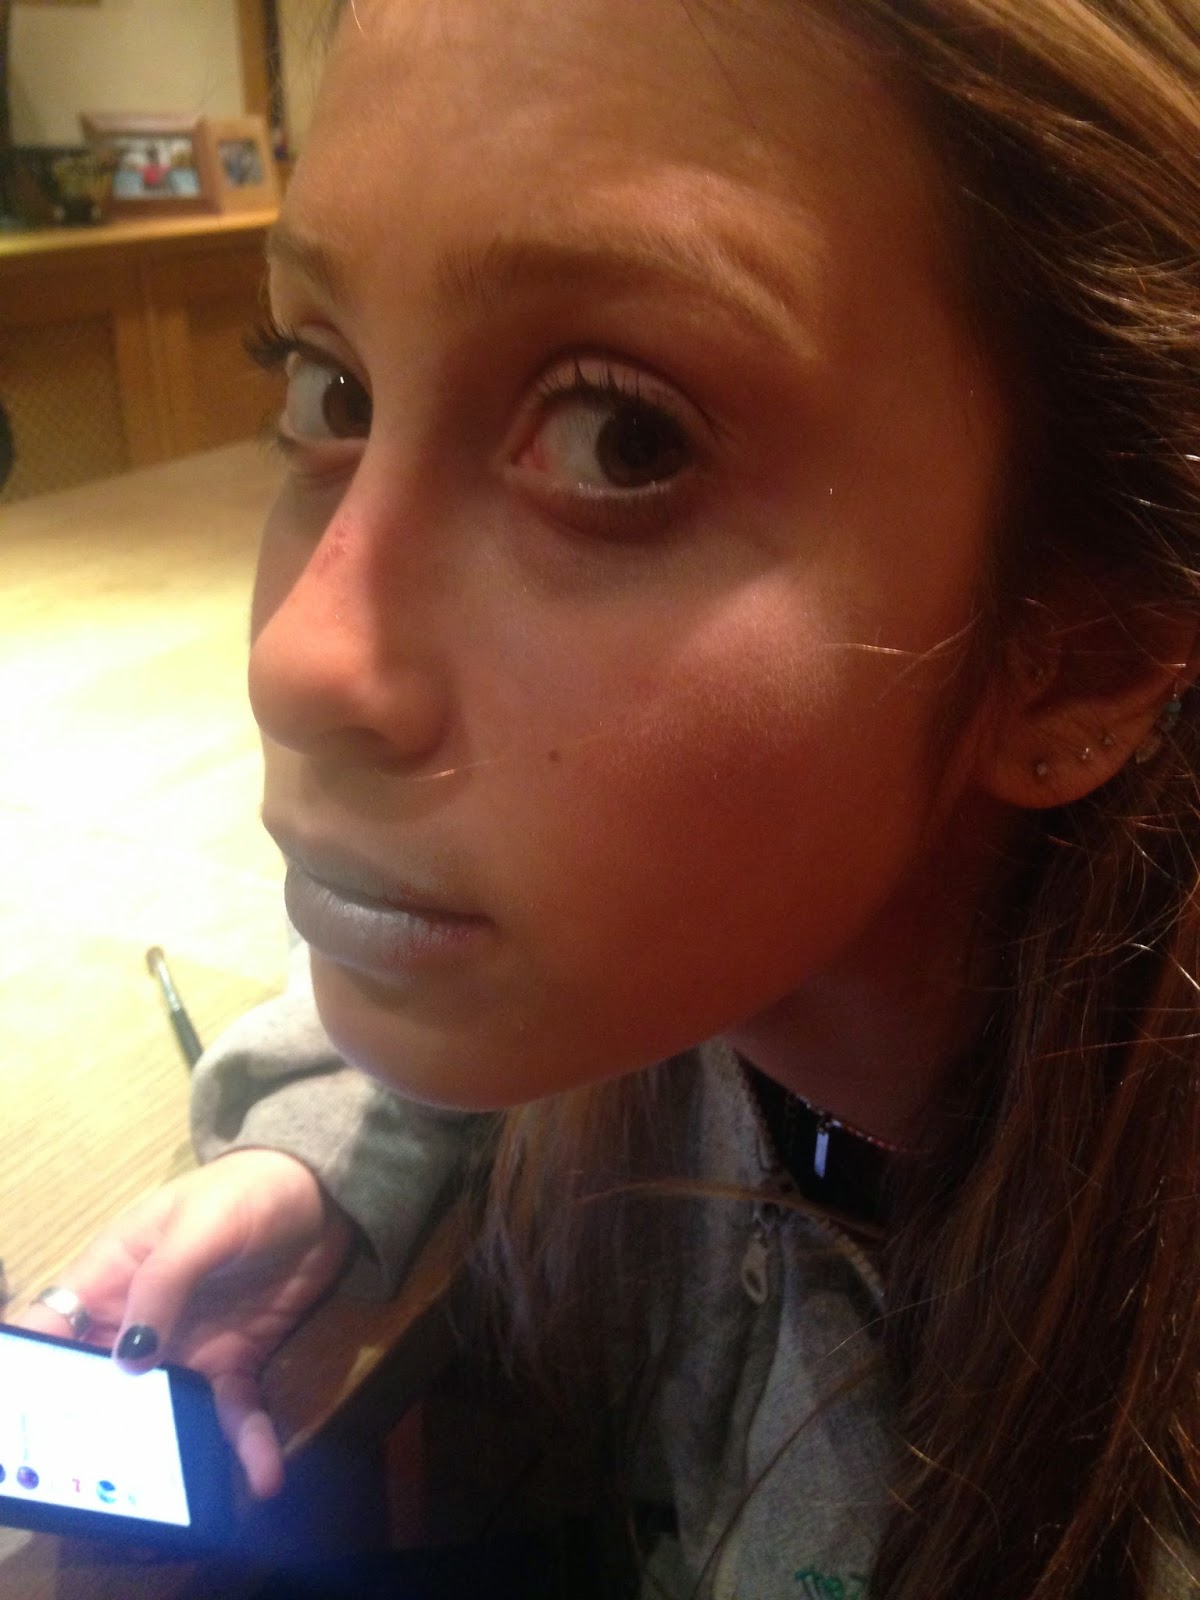
The effects we used were the ones provided on iMovie. Some of these clips included transitions between scenes to make it progress better and create suspense. We used effects such as color fade which indicated to the audience that the character was dead, possibly hinting that the color fade of the clip was justified by the loss of color to her face once she had been poisoned. This was to create sympathy for the character. We also used the normal fade effect where our idea behind this was to signal that there was a move in the scene and that tension was going to increase more and more every time there was a fade. The fade effect also helped design a sense of empathy for the character. The dissolve effect was used to signify that she was dissolving as a character as the opening sequence progressed, with her becoming more frightened and fearful of her surroundings as the scene went on. The dissolve effect was also useful in moving the scene along quickly so that the audience did not get bored, or feel as if it was too repetitive. Slow motion was the last effect that we used, and we used this as our character is clutching onto her throat when she stops breathing and slowly begins to fall to the floor as this creates suspension and excitement, as well as highlighting what is most important in the scene, focusing our attention on the young vulnerable girl who is dead. The audience is roughly the same age, as the character so here we hoped the slow emotion would create an empathic mode to finish off the sequence.

In the opening of the thriller, we have
stereotypical ‘thriller music’. This is dark, slow and eerie music to set the
scene and indicate to the reader that something bad is going to happen. This
sound effect was continued from the wide shot of the house to the close up of
the letter saying Malice. We included this so that our audience could predict
the fate of the girl. When our character moves from the study to the kitchen
the music is more mellow and creepy, as the audience do not know what is going
to happen to her. This is followed by the mode of the music dropping
immediately after the girl has drunk the poison, which signifies to the
audience that the girl is going to die. This was used to create suspense and
tension and a gripping feeling. In the credits the music is carried on by the
sound of young children laughing in the park, possibly signaling t the audience
what is left to come in the next scene, which creates a cliffhanger effect and
leaves the audience wanting to know what happens. This giggling is interrupted
by the sound effect of a thunderstorm which ends or thriller with the sense of
a big bang, possibly making people jump out of their seats as it is unpredicted
as well as possibly implying there is more exciting things to come in the film
making more people want to watch it.


Charlie attached the credits and titles by
dragging text onto the timeline and from here editing the text to say what we
wanted. The reason we placed the credits at the end was because it made more
sense as we were following the movie Scream who have a straight into the film
opening sequence and as we are inspired by this thriller, decided to do the
same. We also believed that it was more effective and that credits at the
beginning dispose of suspension and tension then starting straight into the action
when the audience is ready.